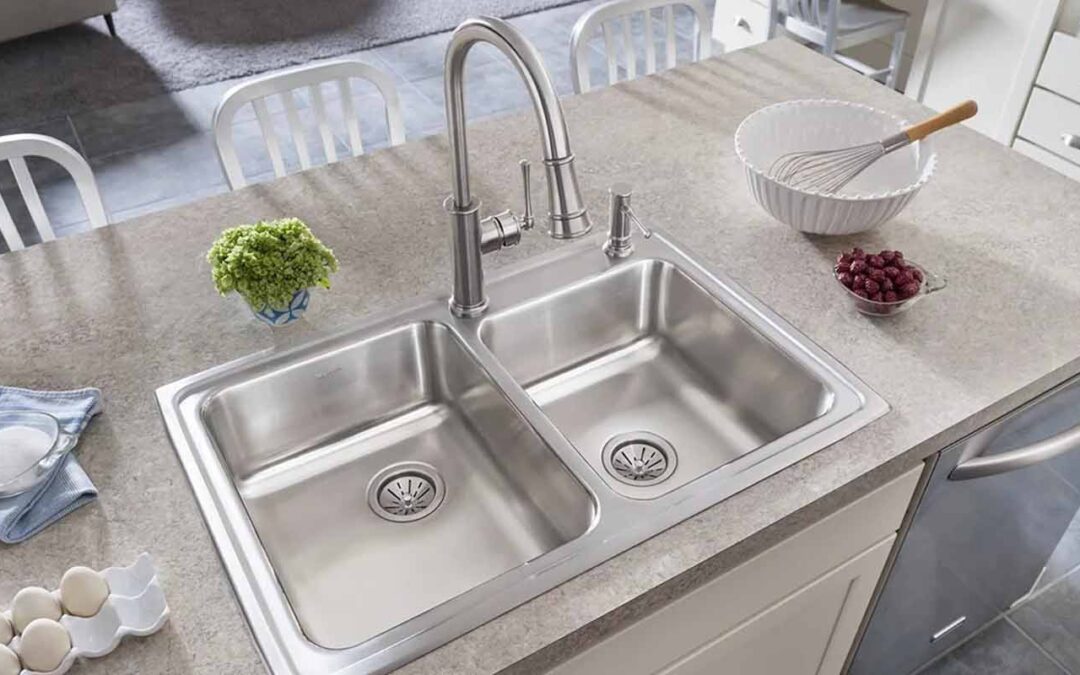
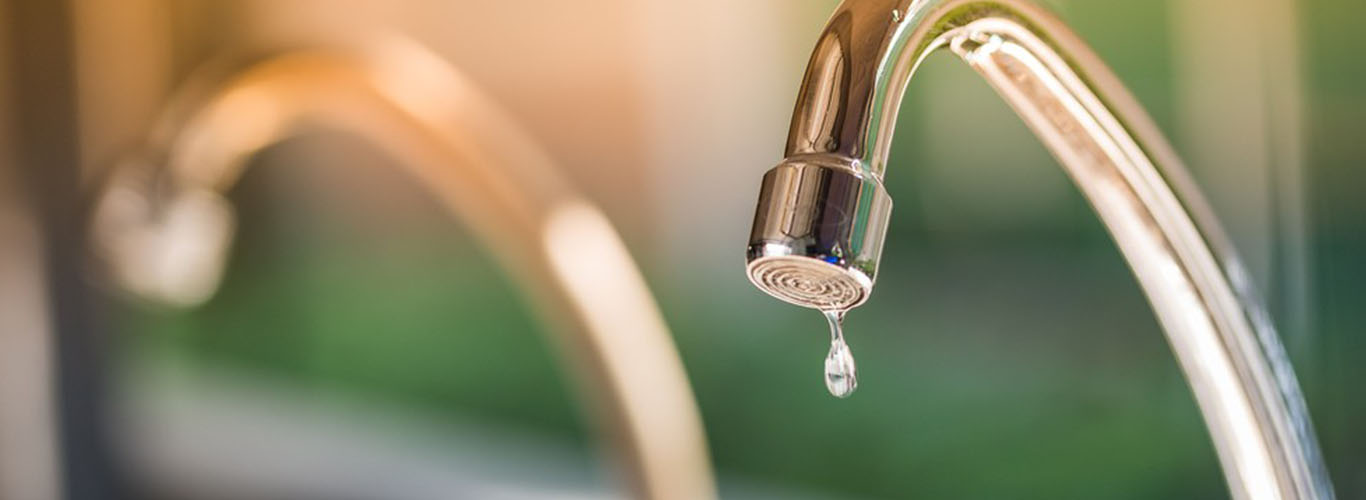
You may have tired of that old, leaky tap in your kitchen, or perhaps you’re looking to upgrade your kitchen’s aesthetics with a stylish new tap. Either way, changing a tap can be a rewarding and cost-effective DIY project that can transform your kitchen’s functionality and appearance. Whether you’re a seasoned DIY enthusiast or a novice with little plumbing experience, fear not!
In this blog post, I’ll guide you through the step-by-step process of changing a suitable tap, with easy-to-follow instructions that will have you confidently tackle this home improvement project in no time. I’ll also uncover the other necessary tips and precautions. So, roll up your sleeves, grab your tools, and let’s dive into how to change a tap and give your kitchen a fresh new look!
How to Choose a Suitable Tap?
When it comes to choosing the right tap for your kitchen, it’s important to start with a smart purchase decision. While it may be tempting to opt for the cheapest option, it’s advisable to invest in a mid-range tap at the very least. Additionally, considering taps that are manufactured in Britain can be a wise choice in terms of quality and durability.
With numerous brands available in the market, it’s essential to keep in mind the water pressure in your home when selecting a suitable kitchen tap. Typically, the water pressure in the kitchen is mainly fed, so you’re unlikely to face any issues in that regard.
However, if your home has low water pressure, it’s crucial to opt for a low-pressure kitchen tap. It’s important to note that this may indicate low water pressure throughout your entire house, which could impact your tap selection. Taking into account the water pressure in your home is crucial to ensure that your chosen tap performs optimally.
What Tools Do You Need to Change Kitchen Tap?
To make your life easier while tackling this small job, you’ll need a variety of handy tools and materials. The following are the things will may need to change the kitchen tap.
- Basin wrench
- Adjustable spanner
- Set of 8-piece spanner (Monoblock spanner)
- Pipe cutter
- Pump pliers
- Back Nut spanner
- Loctite or PTFE tape
- Flathead screwdriver
- Plumber’s mate jointing compound
- Isolating valve (if needed)
- Towel
- Bucket
- New tap
Having these tools at your disposal will ensure that you’re well-equipped to handle the task and complete the job easily.
How to Change Your Kitchen Tap?
You may be afraid of the process of changing a kitchen tap, thinking it’s a complex procedure; believe me, it’s way more straightforward than you think. I have added a few steps below. All you have to do is follow these to go through easily.
1. Shut Off the Water Supply
To start with changing the tap, the first step is to shut off the water supply. For this, you can utilise two methods, either turn off the isolating valve or the main water.
Using Isolating Valve
Some taps may have isolating valves installed underneath the sink, which allows you to shut off the water supply specifically to the tap you’re working on without affecting the rest of the house. If your tap has an isolating valve, you can use it to stop the water supply to the tap.
Via Main Water Supply
Suppose there is no isolating valve underneath the tap. In such a case, you should start locating the main water supply valve. It is typically located near the water metre, usually outside your home or in a utility room.
Once located, turn off the main water supply valve by turning it clockwise until it’s fully closed. This will stop the flow of water to your entire house, ensuring that no water is coming into the plumbing system while you work on the tap.
2. Drain Any Remaining Water
Open the tap to drain any remaining water in the lines. Remember, you can open multiple taps at a time to speed up the draining process. Moreover, you must also close all the opened taps immediately once they are drained off.
3. Remove the Old Tap Carefully
Once you are sure that all possible water is drawn from the tap, the next step is to remove the tap. You can follow these steps to complete this process effectively.
- Get a towel and a small bucket ready – As you disconnect the pipes, some water may come out. A towel and a small bucket will help you catch water and prevent mess.
- Choose the appropriate method based on your pipe connections – There are three methods to disconnect the kitchen tap, based on the type of pipe connections you have:
Option 1: 15 mm compression fit copper pipe connections – If your kitchen tap is connected using 15 mm compression fit copper pipe connections, you can utilise an adjustable spanner to loosen the nuts. Make sure to firmly hold the old tap in place to prevent any twisting, and then proceed to undo the nuts located on the hot and cold sides.
Option 2: Flexible pipe connectors – In case your kitchen tap has flexible pipe connectors, you can loosen the nuts where they connect to the pipe or isolating valve using an adjustable spanner. Sometimes the nuts may be tight, so carefully unscrew them to avoid damaging the pipes.
Option 3: Install an isolator valve – Sometimes, you may need to cut both 15 mm pipes and install an isolator valve as an alternative option. This may be necessary if other methods are not feasible or if you prefer to have an isolator valve for easier future maintenance.
- Use towels or rags to catch any drips – Water may be dripping from the pipes as you disconnect the tap. Therefore, use towels or rags to catch any drips and keep the work area clean and dry.
- Lift the tap off the sink – After disconnecting the tap from the pipes or isolator valve, carefully lift the tap off the sink. Be mindful of any remaining water in the tap, and catch it with the towel or bucket if necessary.
4. Install the New Tap Using Appropriate Tools
Up to this point, we have learned all the necessary pre-installation steps required to go through the process of changing a tap smoothly. Now, it’s time to actually put our tap installation plan into action. The following are the steps that can help you with it.
- If possible, carefully read and follow the instructions in the installation manual that comes with your new tap. Familiarise yourself with the parts and components included in the package.
- Once you have familiarised yourself with the parts, start assembling the kitchen tap according to the instructions. This process may require attaching the flexible tap connectors (pipes) to both the hot and cold sides of the tap body, along with screwing in the provided single-threaded rod and inserting the rubber washer seal underneath the tap body.
- Apply the plumber’s mate sealing compound or the PTFE tape underneath the tap body, where it will come into contact with the kitchen worktop. This additional sealing compound can provide extra protection against leaks, although the rubber seal supplied by the manufacturer is usually sufficient.
- Carefully insert the new kitchen tap into the worktop, holding it in place with one hand while placing the fixing bracket underneath the tap with the other hand.
- To tighten the nuts onto the single-threaded rod, you can make use of a Monoblock spanner set. This specialised spanner can save you time and effort compared to an adjustable spanner, allowing you to properly tighten the nuts within minutes.
Note: After tightening the nuts, ensure the connections are made properly and ensure the tap is securely attached to the worktop. Wipe away any excess sealing compound or water.
5. Connect the Water Supply Lines to the New Tap
Since you have installed the tap, it’s time to connect it with the water supply lines as it must be and start using it as intended. Here are steps that will help you with this phase.
- If your new tap has flexible tap connector pipes, simply attach them to the corresponding hot and cold mains pipes connections, ensuring they are properly threaded and tightened.
Note: If you need to cut the 15 mm copper pipes to connect the tap, you can install new isolator valves on the pipes. Follow the manufacturer’s instructions to properly install the isolator valves, which allow you to control the water supply to the tap.
- Once the isolator valves are installed, connect the flexible tap connector pipes to the isolator valves. Again, ensure the connections are threaded and tightened properly.
- Use a suitable wrench or spanner to tighten the nuts on the tap and isolator valves, ensuring they are securely fastened. While tightening the nuts, use one hand to hold the isolator valves in place to prevent them from twisting or moving.
6. Turn on the Water Supply & Check the Water Leaks
After connecting the water supply lines, double-check for any leaks around the connections. You can do this with the help of the following steps.
- Turn on the isolating valve or the main water supply depending upon what methods you have used to shut off the water supply, given in step# 1.
- Inspect for water drips or leaks around the tap and connections.
- If any leaks are found, tighten the connections further or replace any faulty components as needed.
Note: If you’re unable to stop the leaks even after properly tightening the tap, you may require reapplying the plumber’s mate sealing compound or the PTFE tape. Once you have reapplied, use the tactics we discussed so far to remove and install the tap.
7. Test the Tap & Clean Up Everything
Once you have done everything necessary to properly install a tap and make it work, now, you have to finalise everything, test the tap’s working, and clean up the mess you put in the surroundings.
- Start by opening the cold-water side first and let it run for about a minute to allow any air to escape. Then, open the hot water side and check for proper water flow from both sides.
- Sometimes, after an installation, airlocks may occur, especially in mixer taps. This can happen if you open both the hot and cold sides simultaneously, causing air to be pushed back into the hot side due to higher pressure in the cold water. To avoid this, open the cold-water side first, let it run for a minute, and then open the hot water side separately.
- If the tap is functioning properly with no leaks and no airlocks, your installation succeeds. Congratulations! Your kitchen tap is ready to use.
- Wipe down the sink and surrounding area to clean up any messes from the installation process.