As a fundamental component of plumbing fixtures, the tap is an outlet to a reliable water supply, enabling us to access clean water whenever needed conveniently. Whether for drinking, cooking, cleaning, or bathing, the tap ensures water flows smoothly and efficiently into our homes.
Additionally, taps are designed with various features that allow us to control the temperature and flow rate of the water, providing us with the flexibility to meet our specific needs and preferences.
With a wide range of designs, taps contribute to the aesthetics of your living space, making it look more attractive.
Furthermore, taps contribute to the aesthetics of our living spaces, with a wide range of designs available to complement different interior styles. Overall,
In brief, taps are indispensable in-house ceramics ensuring a continuous water supply by providing essential functionality, convenience, and aesthetic appeal.
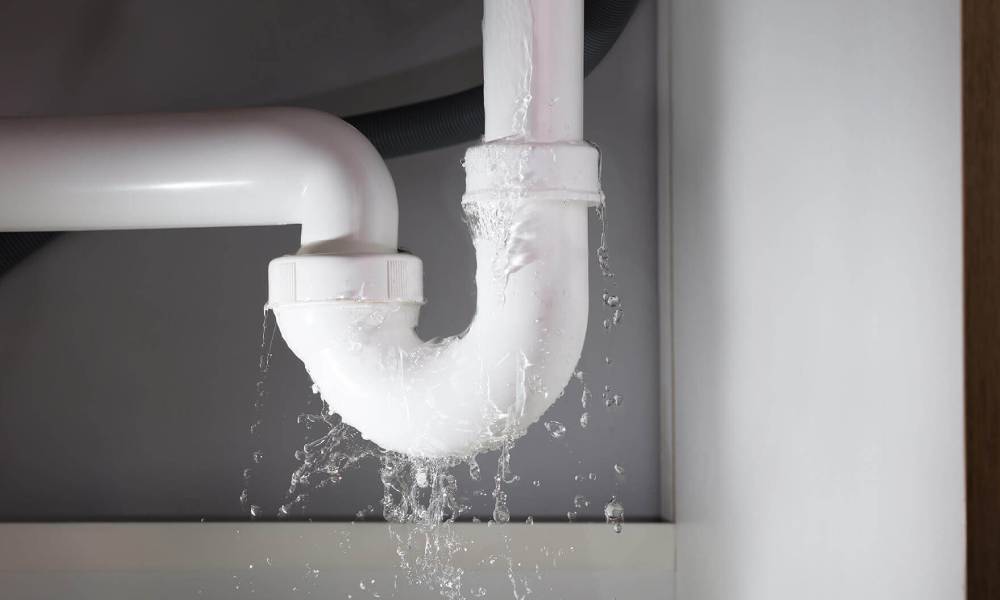
Causes of Tap Leakage
However, with time, certain leakage problems occur, causing issues with the water supply and, if not addressed, may lead to significant damage to the property. Let’s look at some of the common causes of tap leakage.
Worn-Out Washers or O-Rings: Over time, the washers or O-rings inside the tap can deteriorate or become worn, resulting in water leakage.
Loose or Damaged Connections: Improper and loose connections between the water supply pipes and tap can lead to water leakage.
Faulty Cartridges or Valves: Taps with cartridge or valve systems can experience leakage if these components become faulty or damaged.
Improper Installation: If a tap is not installed correctly or the fittings are not tightened properly, it can result in water leakage.
Corrosion or Mineral Build-Up: Corrosion or mineral build-up within the tap can affect its functionality and lead to leaks.
Damaged Seals: Seals within the tap assembly can damage or deteriorate over time, leading to water leakage. These seals are responsible for preventing water from escaping between different parts of the tap, and when they are compromised, leaks can occur.
High Water Pressure: Excessively high-water pressure in the plumbing system can strain the tap’s internal components, leading to leaks.
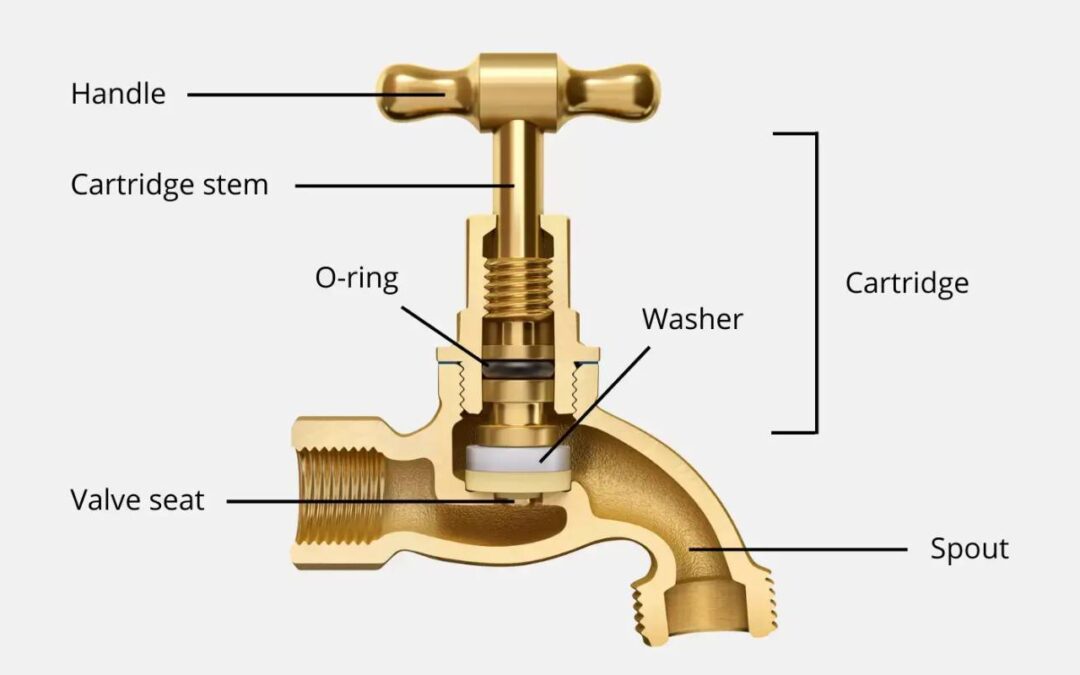
Components of A Tap
After learning about the key causes of tap leakage, certain methods are adopted to resolve these issues. But before moving onwards, just know about the core components of a tap so that you can point out where exactly the problem is:
Spout: The spout is the visible part of the tap that extends over the sink or basin.
Handles/Knobs: Taps typically have one or two handles or knobs that allow users to control the water flow.
Cartridge/Valve: This is the main internal mechanism regulating water flow. It can be a traditional rubber washer cartridge or a more modern ceramic disc cartridge.
Aerators: Aerators are small devices that attach to the end of the tap spout. They introduce air into the water stream to minimise water splashes from the tap.
O-Rings and Seals: O-rings and seals create watertight connections within the tap. They prevent water from leaking around the handles, spout, and other components.
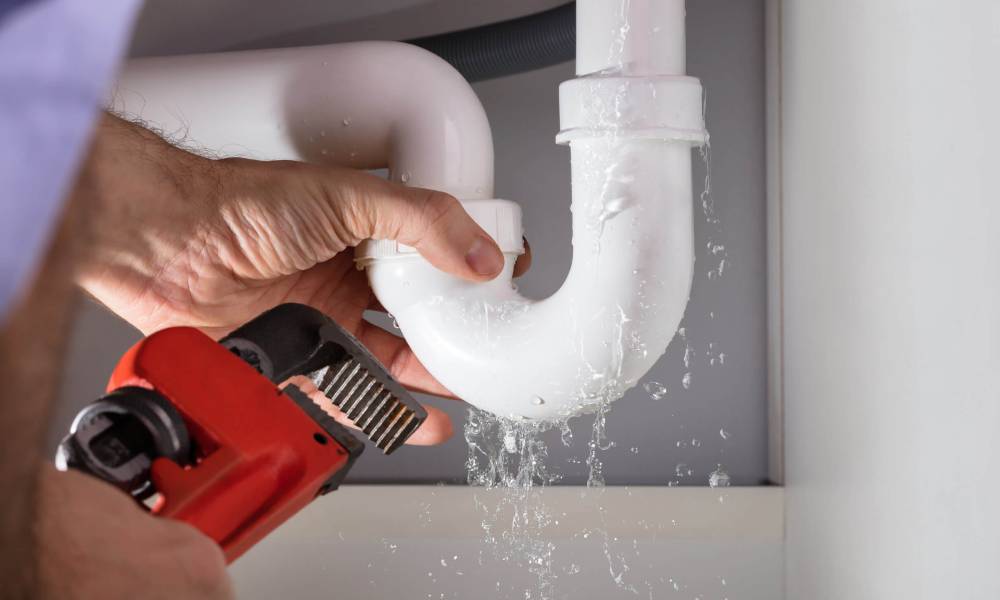
Now, let’s move on to resolving common tap leakage issues. Turning off the water supply in all repair tasks is important for safety.
Fixing Spout Leakage
- First of all, remove the tap handle
- Check for the faulty cartridge or seal & replace it if needed
- Place it in the right position and reassemble the tap.
Fixing Handle Leakage
- Turn off the water supply to the tap
- Watch out for any visible damage or wear
- Inspect the handle for any visible damage or wear
- Check if there are any loose connections
- Replace the valve if it’s faulty.
Fixing Side Spray Leakage
- Make sure there is not any issue with the diverter valve
- Replace it if it’s defective
- Now reassemble the tap and check whether it’s functioning properly.
Fixing Compression Valve Leakage
- Carefully remove the handle cap of the tap to access the inner screw
- Now unscrew the remaining valve cover
- By using a spanner, remove the compression valve (washer)
- To ensure a stable grip on the valve, securely hold it in place using the adjustable spanner
- Remove the screw that holds the washer in position using a screwdriver
- Replace the washer with a new one
- Screw the valve and its cover, and tap the handle back to its place.
Fixing Ceramic Disc Valve Leakage
- Primarily, remove the handle cap to reach the top of the tap-valve
- Remove the valve to check the ceramic disc valve
- Check out the reason for leakage, whether it’s dirt or damage
- Clean the valve and have it replaced if it’s damaged
- Lastly, fix the valve and handle cap to make the tap functional
Fixing Tap Valve O-Ring Leakage
- Firstly, remove the upper handle of the tap
- Remove the upper valve and check the O-ring
- Clear out the reason for the leakage if it’s dirt or a breakage
- Resolve the issue and fix the tap back for smooth usage.
Fixing Spout Valve O-Ring Leakage
- Begin operating under the sink
- Using a box spanner loose the nuts securing the tap to the sink
- Rotate the tap to face to align the grub screw towards
- Followed by this, remove the grub screw
- Lift the spout to access the O-ring
- Replace the worn-out O ring
- Fix the spout back and tighten the tap with the sink
- Recheck if it’s working efficiently to serve your purpose.
In brief, certain tap leakage issues can be fixed with the right guidance and following the necessary steps. However, it is recommended to always have some professional services to get the best results without any risk.