Step-by-Step Instructions to Change Basin Taps
Table of Contents
Water leaking from the sink tap or having an outdated design can significantly affect the aesthetics of your bathroom, and changing it can refresh your bathroom’s functionality and design. Replacing basin taps can be a stressful task for people not familiar with basic plumbing. However, with the proper guidance and simple step-by-step instructions, you can make it a satisfying DIY project.
In this guide, we’ll walk you through some of the reasons for changing your basin taps, the range of models available in the market, and step-by-step instructions to ensure efficient installation.
What are the Reasons for Changing Basin Taps?
Basin taps are an integral part of a bathroom. The lights reflect from chrome-coated faucets, giving the bathroom a fresh and hygienic look. So, it would be best to change the taps immediately if facing the following issues.
- Worn out colour or fading stage has started. Worn-out taps hamper the aesthetics of the bathroom and make it dull and un-hygienic.
- Damaged internal parts can also cause recurring problems; most of the time, repairing may not be the best option.
- A tampered knob or lever should be repaired immediately. If the problem is still unresolved, you should change the tap.
- Leaking is one of the most common issues and is easily repaired frequently by a professional plumber. However, it is also one of the causes to replace the tap.
- Continuous dripping can sometimes be very stressful; the best solution is to swap it with a new one.
- Old design of faucets can affect the bathroom style. You need to update your bathroom with advanced designs that give it a more modern look.
What Models of Sink Taps Are Available in the Market for Replacement?
There are several options available in the market to replace your tap with, such as
- A Mixer tap is a standard type that has both hot and cold water run at the same time.
- Pillar tap comes in a pair of one for hot water and the other for cold water.
- Monobloc tap is a variant of mixer tap with a flexible end.
- Deck-mounted taps have adjustable legs to fit in the existing sinkholes.
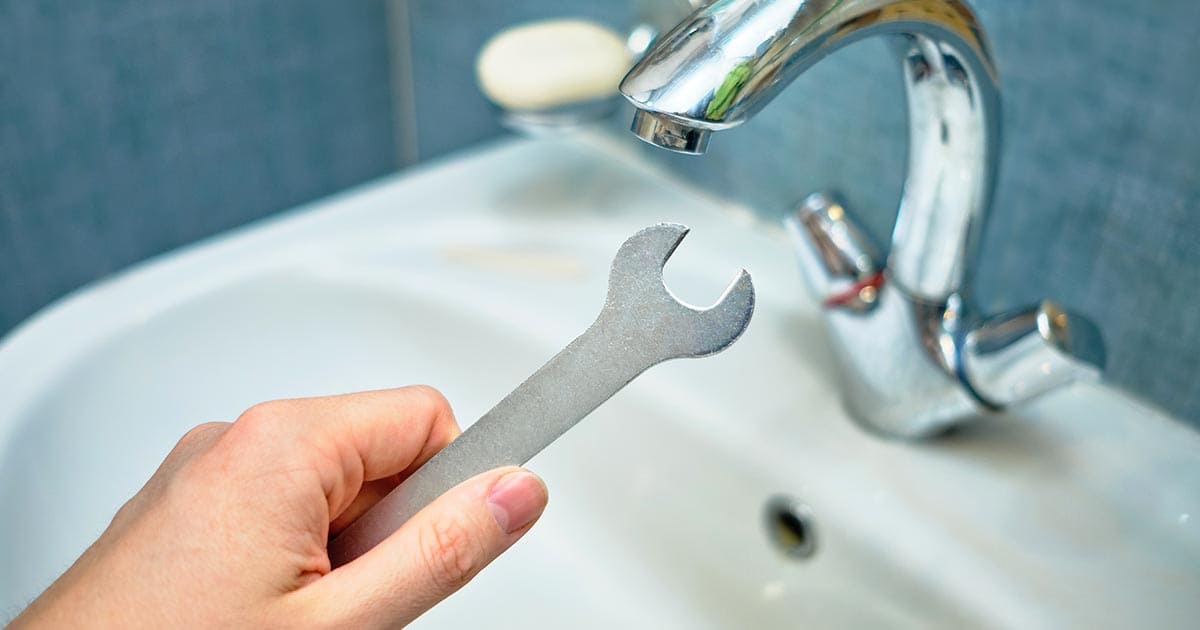
What Steps are Involved in Changing Sink Taps?
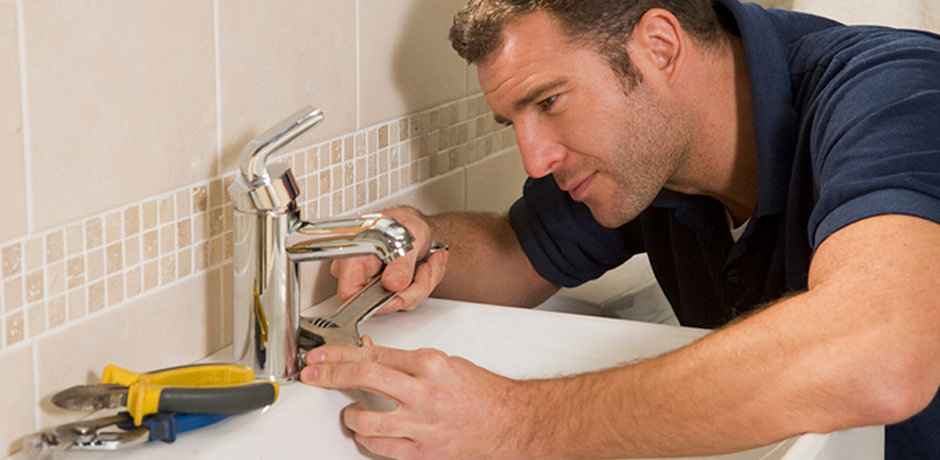
Changing sink faucets can be a DIY project in most cases, but using a professional to replace basin taps is always advised. The steps involved in changing of tap are explained below.
Step 1: Turning the Water Supply Off
The first step is to turn off the water coming to the tap. Water can be turned off at two points main valve and the isolation valve. Ensure that hot and cold water pipes and flexible connectors are disconnected. Turn on the old tap slightly to confirm that the water is completely turned off.
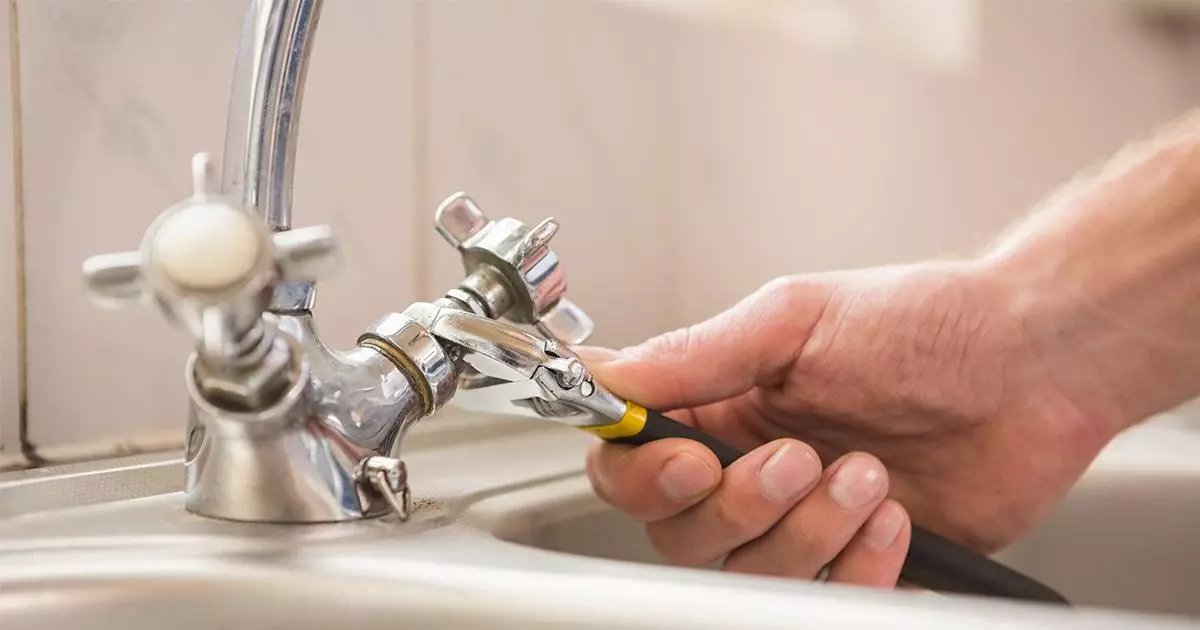
Step 2: Remove the Old Tap
Removing the old tap should be done by detaching the plastic nut under the sink, which is used to support the faucet. After opening the nut, you will be able to lift off the tap from the sink.
Step 3: Install the New Tap
Now, it is time to fit the new tap. However, the fitting method depends on the model of the tap, such as a mixer, pillar, or tower tap. The typical process for fitting most of the taps is first to remove the nut attached to the new tap, then fit it in the sinkhole and secure the nut back on.
Step 4: Connect the New Tap
After fitting the tap in the hole, attach the hot and cold water connections and flexible connector back to the tap.
Step 5: Re-Establish the Water Supply
Turn on the isolation and main valve to run the water through the tap. At first, it will blow some air, then it should start running water. Ensure the connections are watertight and no water is leaking from it.
Step 6: Test the New Tap
Complete testing should be done by checking the hot and cold water temperature, pulling the lever back and forth, and, lastly, once again, checking for any leakages from connections under the sink.